
Crème brûlée—just saying the name makes your mouth water, doesn’t it? This French classic is more than just a dessert; it’s an experience. From its creamy custard to the satisfying crack of its caramelized sugar crust, crème brûlée is all about perfection. But here’s the burning question (pun intended): at what temperature is crème brûlée done?
In this guide, we’re diving deep into everything temperature-related for crème brûlée. We’ll talk about the ideal baking temperature, how to know when it’s ready, and common problems you might face. Ready to master this dessert? Let’s get started! 🍮
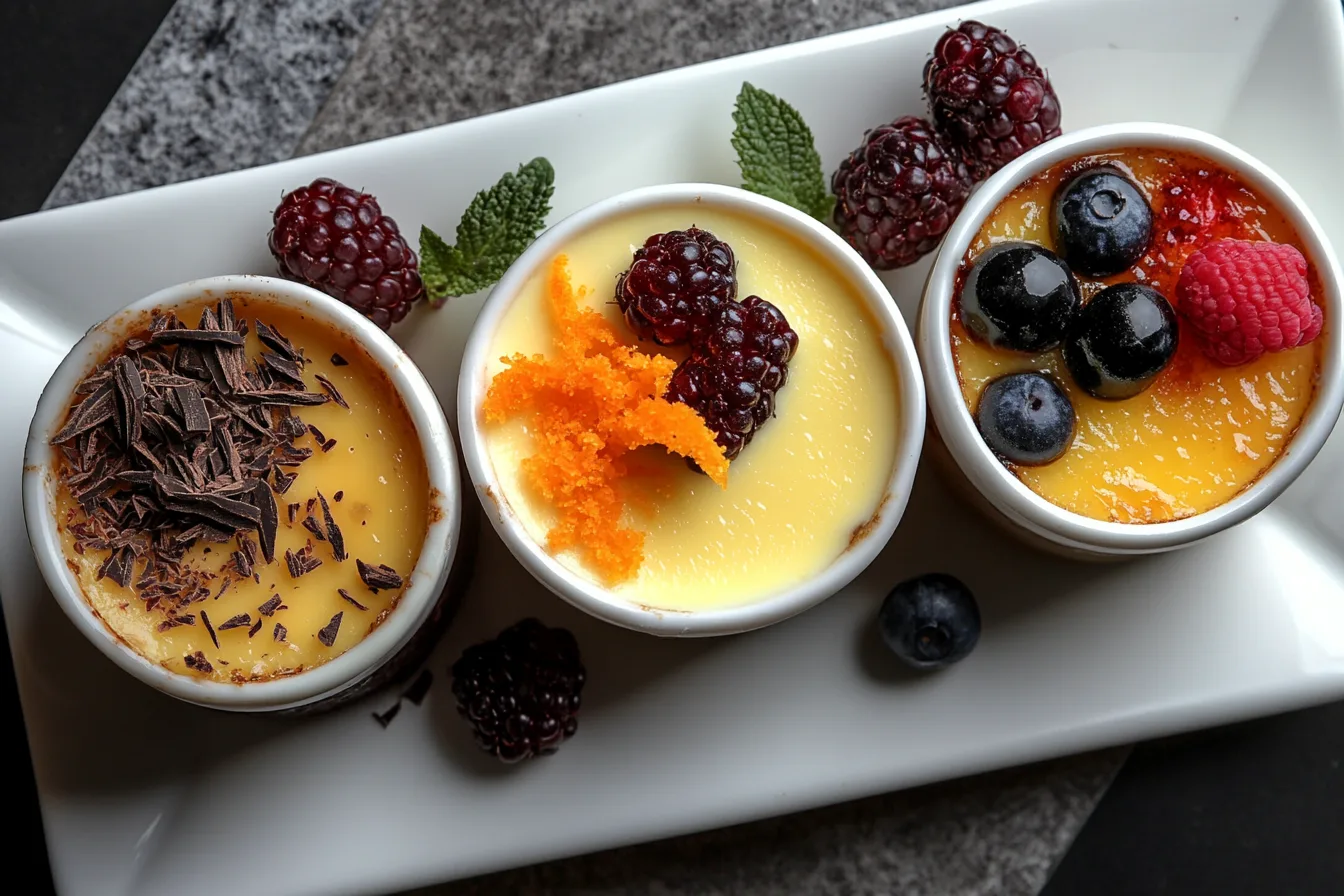
Introduction: Perfecting Crème Brûlée
Why Temperature Matters in Crème Brûlée Preparation
Let’s get one thing straight: temperature is the secret ingredient to a perfect crème brûlée. Too low, and you’ll end up with a soupy mess. Too high, and you risk curdling the custard. The perfect temperature ensures that the custard sets just right—smooth, creamy, and melt-in-your-mouth delicious.
“The right temperature isn’t just important—it’s everything. It’s the difference between a dessert that’s divine and one that’s disappointing.”
Understanding the Role of Temperature in Custard Consistency
Custard is a delicate balance of eggs, cream, and sugar. When heated, the proteins in the eggs coagulate, creating that silky texture we all love. But here’s the catch: this process only works within a specific temperature range. Go beyond it, and your custard will turn grainy. Stay below it, and it won’t set. So, what’s the magic number? We’ll get to that in a bit!
The Ideal Temperature for Baking Crème Brûlée
What Is the Perfect Internal Temperature for Crème Brûlée?
Drumroll, please… The perfect internal temperature for crème brûlée is 170°F to 175°F (77°C to 80°C). At this range, the custard will be set but still slightly jiggly in the center—exactly how it should be. If you go over 185°F (85°C), you’re in danger of curdling. Nobody wants scrambled eggs in their dessert!
Tools to Measure Crème Brûlée Temperature Accurately
A digital kitchen thermometer is your best friend here. Insert it into the center of the custard (but don’t touch the bottom of the ramekin), and you’ll get an instant reading. No thermometer? Don’t worry! Later, we’ll cover visual and texture cues to help you out.
Step-by-Step Guide to Achieving the Right Temperature
Preparing Your Custard Mixture
First things first: the custard. Start with a combination of heavy cream, egg yolks, sugar, and vanilla. Gently heat the cream until it’s warm (not boiling!) and gradually whisk it into the egg mixture. Why gradual? Adding hot cream too quickly can scramble the eggs—a rookie mistake!
| Ingredient | Quantity |
|---|---|
| Heavy Cream | 2 cups |
| Egg Yolks | 5 large |
| Granulated Sugar | 1/2 cup |
| Vanilla Extract | 1 teaspoon |
Baking Crème Brûlée in a Water Bath: Why It’s Essential
Here’s a pro tip: always use a water bath. This technique ensures gentle, even heat, which is crucial for cooking custard. Place your ramekins in a deep baking dish, then fill the dish with hot water until it reaches halfway up the sides of the ramekins. The water acts like a safety net, preventing the custard from overheating.
“A water bath isn’t optional—it’s your custard’s bodyguard, protecting it from sudden temperature spikes.”
Monitoring the Temperature During Baking
Set your oven to 300°F (150°C) and bake the crème brûlée for 30–40 minutes. But don’t just rely on the clock—check the custard’s temperature with your thermometer. Once it hits 170°F to 175°F, it’s done! If you don’t have a thermometer, give the ramekin a gentle shake. The edges should be set, but the center should still wobble slightly.
Signs Your Crème Brûlée Is Done
The Jiggle Test: What to Look For
The jiggle test is your backup plan if you don’t have a thermometer. Gently tap the side of the ramekin. If the custard jiggles uniformly like gelatin, it’s ready. If the center looks too runny or sloshes, it needs more time. On the flip side, if it doesn’t jiggle at all, it’s likely overcooked.
Visual Cues to Determine Doneness
Look for a pale, slightly firm surface. The edges should be set, and the center should appear just barely undercooked. Avoid browning on the top—that’s a sign your oven is too hot.
Nutrition Facts: Crème Brûlée (Per Serving)
| Nutrient | Amount |
|---|---|
| Calories | 250 |
| Fat | 18g |
| Sugar | 20g |
| Protein | 4g |
That wraps up the first part of our guide! We’ve covered the basics of temperature, the baking process, and how to identify when your crème brûlée is done. Ready to tackle common problems, advanced tips, and FAQs? Let’s move to Part 2! 🍮✨
Common Temperature-Related Problems and Solutions
Overcooked Crème Brûlée: Causes and Fixes
Overcooking crème brûlée is a common pitfall, and it usually happens when the custard exceeds 185°F (85°C). At this temperature, the proteins in the eggs coagulate too much, turning the custard grainy or curdled. The top might also look cracked or browned, which is not ideal for this silky dessert.
Solution: First, check your oven temperature—it might be running hotter than displayed. Always use an oven thermometer for accuracy. Also, pull the ramekins out of the oven as soon as the custard reaches 170°F to 175°F, even if the timer hasn’t gone off. Trust the thermometer over the clock!
Undercooked Crème Brûlée: How to Salvage It
On the flip side, undercooked crème brûlée can result in a runny custard. This happens when the custard hasn’t reached its ideal internal temperature. Maybe you were too eager to take it out or your oven temperature wasn’t consistent.
Solution: If the custard is still in the ramekins and hasn’t set, don’t panic! Place the ramekins back into the water bath and return them to the oven. Keep a close eye on the temperature and check every 5 minutes until the custard reaches the desired consistency.
“Remember, crème brûlée is all about precision. Treat it like a science experiment with a delicious reward at the end.”
Avoiding the “Scrambled Egg” Effect
Curdled custard is often the result of overheating or improperly mixing the ingredients. If you’ve ever ended up with a dessert that tastes like sweet scrambled eggs, here’s what went wrong: either the cream was too hot when added to the eggs, or the baking temperature was too high.
Solution: Temper your eggs by adding the warm cream slowly, whisking constantly to prevent the eggs from cooking prematurely. During baking, stick to a low and steady oven temperature (300°F/150°C) and use a water bath to keep the heat gentle and even.
Advanced Tips for Temperature Precision
Using a Sous Vide Method for Perfect Consistency
If you’re a fan of precision cooking, sous vide is a game-changer for crème brûlée. By cooking the custard at a consistent temperature, you eliminate the guesswork. Set your sous vide to 176°F (80°C) and cook the custard in vacuum-sealed jars for about 60 minutes. Once done, chill the jars, torch the sugar, and voilà—perfect crème brûlée every time!
Adjusting for Altitude or Humidity Variations
Did you know that altitude and humidity can affect your crème brûlée? At higher altitudes, water boils at a lower temperature, which can impact how your custard sets. Similarly, high humidity can make your caramelized sugar layer sticky faster.
Solution: At high altitudes, you may need to bake your custard slightly longer to ensure it sets properly. To combat humidity, caramelize the sugar layer as close to serving time as possible and store the ramekins in a dry environment.
The Role of Cooling and Chilling in Final Texture
How Cooling Affects Custard Consistency
Once your crème brûlée is baked, the journey isn’t over yet. Cooling and chilling are just as important as baking. As the custard cools, the proteins in the eggs firm up, giving it that velvety texture. Skip this step, and your custard might feel too soft or runny.
Tip: After baking, let the ramekins cool at room temperature for 30 minutes before transferring them to the fridge. Chill for at least 4 hours, but overnight is even better. This allows the flavors to develop and the custard to fully set.
Storing Crème Brûlée Safely Before Serving
If you’re making crème brûlée ahead of time, storage is key. Cover the ramekins with plastic wrap to prevent them from absorbing odors from other foods in the fridge. When you’re ready to serve, caramelize the sugar layer right before serving to ensure that signature crunch.
FAQs: All About Crème Brûlée and Temperature
Can I Bake Crème Brûlée Without a Thermometer?
Technically, yes, but it’s riskier. Without a thermometer, you’ll need to rely on visual cues and the jiggle test. Look for a custard that’s set around the edges but still wobbles slightly in the center. However, investing in a digital kitchen thermometer is worth it for consistently perfect results.
What Happens If the Temperature Exceeds the Ideal Range?
Going over 185°F (85°C) can lead to overcooked custard. The texture will become grainy, and the custard may even separate. To avoid this, monitor the temperature closely and remove the ramekins from the oven as soon as they reach 170°F to 175°F.
Can I Use an Oven Broiler Instead of a Torch for Caramelization?
Yes, you can! Place the ramekins under a preheated broiler and keep a close eye on them. Rotate the ramekins as needed to ensure even caramelization. Just be careful not to overdo it—sugar can burn quickly under a broiler.
Conclusion: Mastering the Temperature of Crème Brûlée
Recap: The Importance of Temperature in Crème Brûlée Success
Temperature is the unsung hero of crème brûlée. From preparing the custard to baking and chilling, every step hinges on hitting the right temperature. Stick to the 170°F to 175°F range for a custard that’s perfectly set yet delightfully creamy.
Encouragement to Experiment and Refine Your Technique
Don’t be afraid to experiment! Every oven is different, and it might take a few tries to get your crème brûlée just right. Remember, cooking is as much about learning as it is about creating. So grab your ramekins, fire up your torch, and enjoy the journey to mastering this iconic dessert. You’ve got this! 🍮✨
“Crème brûlée isn’t just a dessert; it’s a love letter to precision, patience, and a little bit of culinary magic.”