
Looking for the perfect Sure Jell Plum Jelly Recipe? 🍇 You’ve come to the right place! There’s something magical about making homemade plum jelly—it’s sweet, tangy, and incredibly rewarding. With Sure Jell as your secret weapon, creating a jelly with the perfect consistency becomes a breeze. In this guide, I’ll walk you through everything from picking the juiciest plums to sealing your jars like a pro. So, let’s dive into this fruity adventure together!
What is Sure Jell and Why is it Essential for Jelly Recipes?
Ever heard of Sure Jell? It’s like the fairy godmother of jelly-making. Sure Jell is a brand of pectin, which is a natural gelling agent that helps your jelly set properly. Without it, you might end up with plum syrup instead of jelly. Not that syrup isn’t great, but we’re aiming for that satisfying jiggle here! 🍮
“Sure Jell takes the guesswork out of jelly-making, giving you perfect results every time!”
Why Plum Jelly is a Popular Choice Among Jelly Enthusiasts
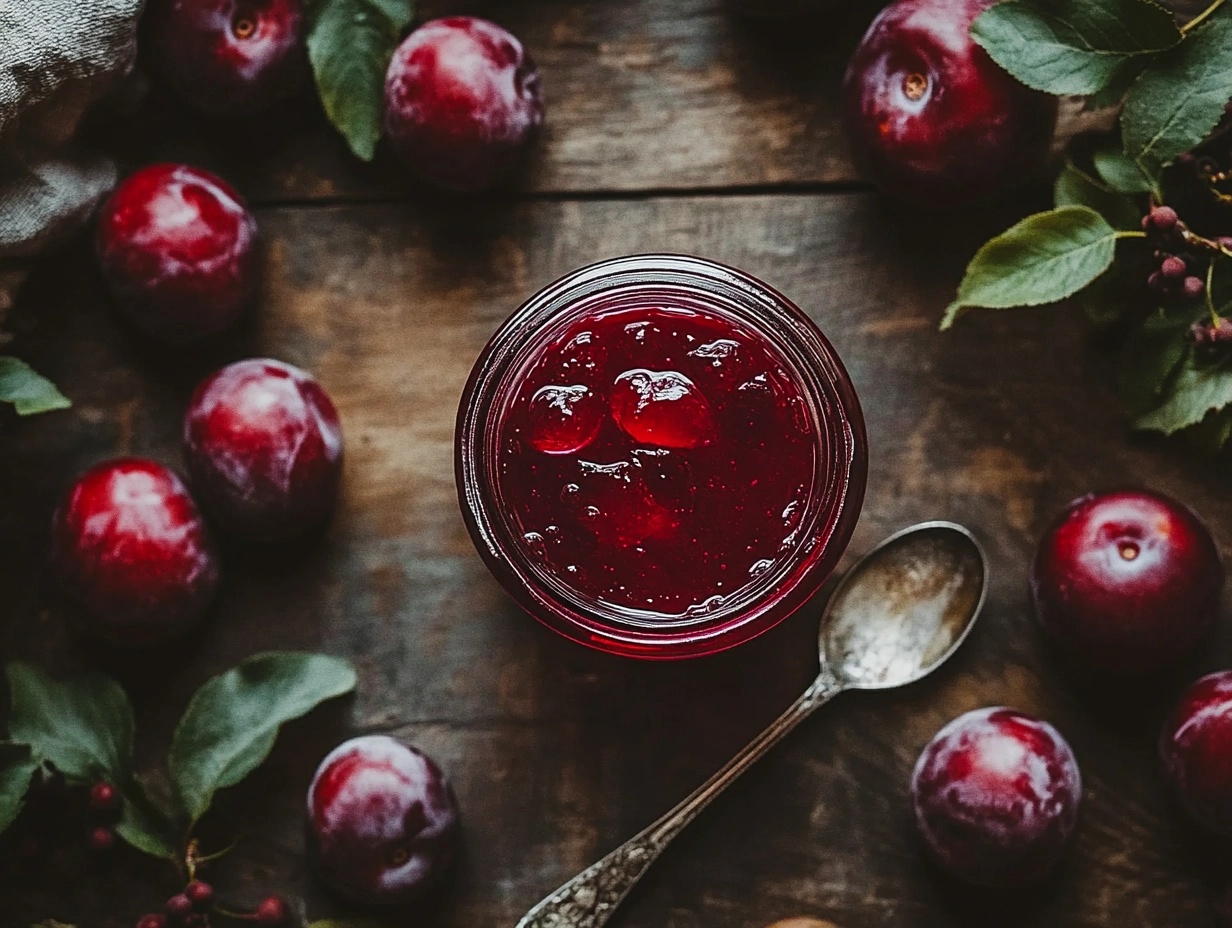
Plum jelly has a unique charm. Its rich, fruity flavor with a hint of tartness makes it perfect for spreading on toast, adding to desserts, or even as a glaze for meats. Plus, plums are packed with nutrients like vitamin C and antioxidants. Healthy and delicious? Count me in! 🙌
Ingredients Needed for Sure Jell Plum Jelly
Before we jump into the nitty-gritty, let’s gather our ingredients. Here’s everything you’ll need:
| Ingredient | Quantity |
|---|---|
| Fresh ripe plums | 6 cups (about 3 pounds) |
| Sugar | 7 cups |
| Sure Jell (pectin) | 1 box |
| Water | 1 cup |
| Butter (optional) | 1/2 teaspoon |
✨ Pro Tip: Use ripe but firm plums for the best flavor and texture. Avoid overly soft or bruised ones!
Equipment Required for Making Plum Jelly
Tools You’ll Need: From Pots to Canning Jars
Good tools make all the difference in the kitchen. Here’s what you’ll need:
- A large stockpot (for cooking the jelly)
- A jelly bag or fine mesh strainer (for extracting juice)
- A canning funnel (to avoid sticky messes)
- Mason jars with lids and rings
- A jar lifter (safety first!)
- A ladle
- A candy thermometer (optional, but super helpful)
If you don’t have a jelly bag, no worries! A clean cotton cloth or cheesecloth works just as well. 🧵
Tips for Choosing the Right Equipment
Investing in quality canning supplies can save you a lot of headaches down the road. Look for jars with tight-fitting lids and a pot big enough to handle all your ingredients without boiling over. Trust me, nothing ruins the fun like sticky stove spills! 🤦♀️
Step-by-Step Guide to Making Sure Jell Plum Jelly
Step 1: Selecting and Preparing the Plums
The key to any great recipe? Starting with top-notch ingredients. Choose plums that are ripe, juicy, and slightly firm. Wash them thoroughly under cool water to remove dirt and pesticides. Once cleaned, cut the plums into halves or quarters, removing the pits.
“Great jelly starts with great fruit. Take your time to pick the best plums!”
Step 2: Extracting Plum Juice for the Jelly
Now comes the fun part—getting the juice out! Place your prepared plums in a large pot and add a cup of water. Bring it to a boil, then reduce the heat and simmer for about 10-15 minutes, stirring occasionally. As the plums soften, mash them gently with a potato masher to release more juice.
Next, pour the mixture into a jelly bag or cheesecloth-lined strainer. Let it sit for a few hours (or overnight if you’re patient). Resist the urge to squeeze the bag—it might make the juice cloudy!
Step 3: Mixing Sure Jell and Sugar for Perfect Consistency
Measure your extracted juice—aim for about 5 cups. Pour it into a clean stockpot and add the box of Sure Jell. Stir well and bring the mixture to a rolling boil over high heat.
Once boiling, add the sugar all at once and stir constantly. Boil hard for 1-2 minutes, or until the mixture reaches 220°F on a candy thermometer. This is where the magic happens—your jelly is taking shape! 🪄
Step 4: Testing the Jelly for Doneness
Worried about undercooking or overcooking? Here’s a simple trick: the spoon test. Dip a cold spoon into the jelly and let it cool for a few seconds. Tilt the spoon—if the jelly forms a sheet-like droplet, it’s ready!
“The perfect jelly doesn’t just happen. Patience and a good spoon test are your best friends.”
Step 5: Canning and Storing Your Plum Jelly
Once your jelly is done, ladle it into sterilized jars using a canning funnel. Leave about 1/4 inch of space at the top. Wipe the rims, place the lids, and tighten the rings. Process the jars in a boiling water bath for 10 minutes to seal them properly.
Let the jars cool on a towel-lined countertop. After 24 hours, check the seals—press the center of each lid. If it doesn’t pop, you’re good to go! 🎉
Nutrition Facts
| Nutrient | Per Serving (1 tbsp) |
|---|---|
| Calories | 50 |
| Sugar | 12g |
| Vitamin C | 2% DV |
| Fiber | 0g |
Common Problems When Making Plum Jelly and Their Solutions
Why Won’t My Jelly Set? Understanding the Role of Sure Jell
One of the most frustrating moments in jelly-making is when you pour all your effort into the process, only to find that the jelly won’t set. 😩 Don’t worry—it happens to the best of us! The most common culprit is not boiling the mixture long enough or not using the correct ratio of Sure Jell to fruit juice.
Here’s how to fix it: Pour the unset jelly back into the pot, add a bit more Sure Jell (about 1 tablespoon per cup of jelly), and bring it to a rolling boil again. Process it as you normally would, and voilà! Jelly saved. 🛠️
Overly Runny or Too Thick: How to Achieve the Perfect Texture
If your jelly ends up too runny, it might be due to undercooking. On the other hand, if it’s overly thick and almost rubbery, you might have overcooked it. Striking the right balance can feel like a Goldilocks situation—but practice makes perfect!
“Cooking jelly is like dancing—you need to find the rhythm. Watch it carefully and test frequently for the best results.”
Dealing with Cloudy Jelly: Tips for Clear Plum Jelly
Ever notice how professional jellies are perfectly clear and jewel-like? If your jelly is cloudy, it might be because you squeezed the jelly bag or didn’t strain the juice properly. Patience is key here—let gravity do the work. If it’s too late, don’t fret! It might not win a beauty contest, but it’ll still taste amazing. 🌟
Preventing Air Bubbles During Canning
Air bubbles can make your jars look less professional and even affect the seal. To avoid them, gently stir the jelly before ladling it into jars and use a non-metallic tool (like a skewer) to release trapped air. Wipe the rims thoroughly to ensure a clean, tight seal. 🏅
Tips and Tricks for Making the Best Sure Jell Plum Jelly
How to Choose the Best Plums for Jelly
The secret to stellar jelly lies in the plums. Look for varieties like Santa Rosa, Damson, or Italian plums—they’re perfect for jelly-making thanks to their rich flavor and high pectin content. If you can’t decide, just follow your nose. A ripe plum smells as good as it tastes! 🍑
Maintaining the Ideal Balance Between Sweetness and Tartness
Too sweet, and your jelly might feel cloying. Too tart, and it could be overwhelming. The key is balance. You can tweak the sugar amount slightly, but don’t stray too far from the recipe, as it could affect how the jelly sets. When in doubt, taste as you go. Your taste buds are your best guide! 👅
Storing Your Plum Jelly: Best Practices for Longevity
Homemade jelly, when properly canned, can last up to a year in a cool, dark place. Once opened, store it in the fridge and consume it within a month. If you’re feeling generous, jelly also makes a fantastic gift. Wrap a jar with a ribbon, and you’ve got a heartfelt homemade treat! 🎁
Frequently Asked Questions About Sure Jell Plum Jelly
Can I Use Other Fruits with Sure Jell?
Absolutely! Sure Jell is a versatile ingredient that works with a wide variety of fruits, from strawberries to peaches to apples. Just make sure to adjust the sugar and pectin ratios according to the fruit you’re using. 🍓🍑🍏
How Long Does Homemade Plum Jelly Last?
When sealed properly, your plum jelly can stay fresh for up to a year. Once you open the jar, keep it refrigerated and use it within a month. If the jelly shows signs of mold or has an off smell, it’s time to toss it. Safety first! 🛑
Is Sure Jell Safe for All Types of Jams and Jellies?
Yes, Sure Jell is designed specifically for jams and jellies. However, always follow the instructions on the box for the best results. If you’re experimenting with low-sugar or no-sugar recipes, consider Sure Jell’s low-sugar variety for better consistency. 🧃
Looking for the perfect Sure Jell Plum Jelly Recipe? 🍇 You’ve come to the right place! There’s something magical about making homemade plum jelly—it’s sweet, tangy, and incredibly rewarding. With Sure Jell as your secret weapon, creating a jelly with the perfect consistency becomes a breeze. In this guide, I’ll walk you through everything from picking the juiciest plums to sealing your jars like a pro. So, let’s dive into this fruity adventure together and master this Sure Jell Plum Jelly Recipe once and for all!
Why Make a Sure Jell Plum Jelly Recipe?
There are plenty of reasons to try this Sure Jell Plum Jelly Recipe. It’s an easy and reliable method for creating delicious homemade jelly that your family will love. Using Sure Jell ensures a perfect set every time, and plums provide that irresistible sweet-tart flavor. Whether you’re new to canning or a seasoned pro, this recipe is a winner!
Ingredients for the Sure Jell Plum Jelly Recipe
Before starting, gather all the ingredients for this Sure Jell Plum Jelly Recipe. Having everything ready will make the process smoother and more enjoyable. Let’s dive into the details of what you’ll need!
Conclusion: Enjoying Your Homemade Sure Jell Plum Jelly
Congratulations—you’ve made it to the end of the jelly-making journey! By now, you should have a shelf full of delicious, homemade plum jelly that’s ready to impress your family and friends. Whether you’re slathering it on toast, drizzling it over pancakes, or gifting it to a loved one, you’ve created something truly special. 🏆
“Homemade plum jelly isn’t just a recipe—it’s a tradition, a story, and a labor of love.”
So, what are you waiting for? Grab a slice of bread, spread that vibrant jelly on thick, and enjoy the fruits of your labor—literally. If you have any questions or want to share your own jelly-making tips, drop them in the comments below. Happy jelly-making! 🍇✨