
Introduction to Plum Jelly
If you’ve ever spread a dollop of homemade plum jelly on warm toast and savored the burst of fruity goodness, you know there’s nothing quite like it. This plum jelly recipe is a standout among fruit preserves, offering a perfect balance of sweetness and tartness. 🍇 It’s simple to make, rewarding, and a delightful way to enjoy plums year-round.
“Homemade plum jelly isn’t just a recipe; it’s a tradition passed down from one kitchen to the next.”
What Is Plum Jelly and Why Is It Popular?
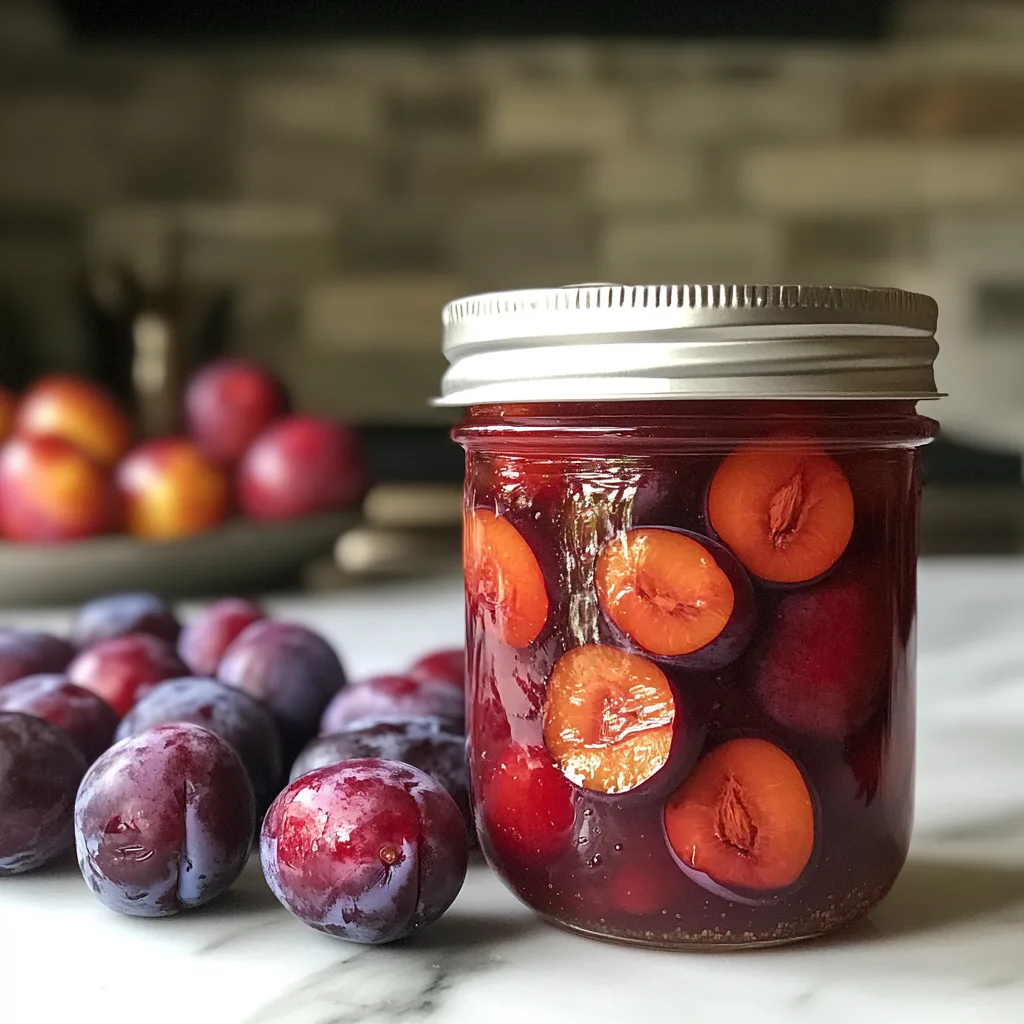
Plum jelly is a type of fruit preserve made by extracting juice from ripe plums, combining it with sugar and pectin, and cooking it into a glossy, spreadable jelly. Its vibrant color and fruity flavor make it a favorite for breakfast spreads, baking, and even as a glaze for savory dishes. This plum jelly recipe is perfect for anyone looking to try their hand at making delicious homemade preserves.
The Versatility of Plum Jelly in Your Kitchen
One of the best things about plum jelly is how versatile it is. Whether you’re spreading it on toast, drizzling it over pancakes, or pairing it with cheese on a charcuterie board, plum jelly elevates any dish. Plus, it’s a fantastic way to preserve plums at their peak of ripeness. 🌟 With this plum jelly recipe, you can create a treat that pairs beautifully with both sweet and savory dishes.
Ingredients and Tools Needed
Let’s talk about what you’ll need to make this delicious plum jelly recipe. Spoiler alert: it’s not as complicated as you might think!
| Ingredient | Quantity |
|---|---|
| Ripe plums (pitted and chopped) | 4 lbs |
| Sugar | 4 cups |
| Liquid pectin | 1 pouch |
| Lemon juice | 2 tbsp |
| Water | 1 cup |
Key Ingredients for Plum Jelly
The star of the show is, of course, the plums. Look for ripe, juicy plums that are slightly soft to the touch. Sugar adds sweetness, pectin helps the jelly set, and lemon juice enhances the flavor while balancing the sweetness. This plum jelly recipe keeps it simple yet flavorful, ensuring you get the best results every time.
Essential Kitchen Tools for Jelly Making
You’ll need a large saucepan, a strainer or jelly bag for extracting juice, sterilized jars for storing the jelly, and a ladle for pouring. A candy thermometer can be helpful, but it’s not mandatory. These tools make following this plum jelly recipe a breeze.
Tips for Choosing the Best Plums
When picking plums, go for those with vibrant colors and a pleasant aroma. Avoid plums with bruises or blemishes. If you’re using store-bought plums, wash them thoroughly to remove any residue. 🌳 Using high-quality plums is the first step in achieving the perfect plum jelly recipe.
Preparing for the Recipe
Cleaning and Preparing Your Plums
First things first: rinse your plums under cold water to remove dirt and pesticides. Then, cut them in half, remove the pits, and chop them into smaller pieces. This makes it easier to extract juice later, a crucial step in this plum jelly recipe.
Sterilizing Your Jars for Safe Canning
Properly sterilized jars are crucial for safe jelly storage. Wash your jars and lids in hot soapy water, rinse them, and place them in a pot of boiling water for 10 minutes. Leave them in the hot water until you’re ready to fill them. This ensures your plum jelly recipe stays fresh and safe to enjoy.
“Sterilizing jars may seem like an extra step, but it’s the key to preserving freshness and preventing spoilage.”
Setting Up a Workstation for Efficiency
Organize your workspace by laying out all your tools and ingredients. This will save you from scrambling mid-recipe. Trust me, having a clear and tidy setup makes the process much more enjoyable. 🛠️ With everything ready, you’ll breeze through this plum jelly recipe.
Step-by-Step Guide to Making Plum Jelly
Extracting Juice from Fresh Plums
Place the chopped plums and water in a large saucepan. Bring the mixture to a boil, then reduce the heat and simmer for about 20 minutes, stirring occasionally. Once the plums are soft, strain the mixture through a jelly bag or fine mesh strainer to extract the juice. Don’t rush this step—let gravity do the work! This step is the foundation of your plum jelly recipe.
Mixing Ingredients for the Perfect Jelly
Measure the plum juice to ensure you have about 4 cups. Pour the juice back into the saucepan and add the sugar and lemon juice. Stir until the sugar dissolves completely. Pro tip: Stir gently to avoid introducing too much air. This ensures your plum jelly recipe yields smooth, luscious results.
Cooking and Monitoring the Jelly Mixture
Bring the mixture to a rolling boil over medium-high heat. Add the liquid pectin and continue boiling for another minute. Stir constantly to prevent sticking and ensure the pectin is evenly distributed. 🥣 Follow this step carefully to achieve the perfect consistency for your plum jelly recipe.
“The sound of bubbling jelly is music to any home cook’s ears!”
Testing for the Proper Gel Point
To check if your jelly has set, use the spoon test: dip a spoon into the jelly and let it cool for a few seconds. If the jelly sheets off the spoon in a single drop, it’s ready. If not, cook it for another minute and test again. Testing ensures your plum jelly recipe turns out perfectly every time.
Pouring and Sealing the Jelly
Carefully ladle the hot jelly into sterilized jars, leaving about 1/4 inch of headspace. Wipe the rims clean, place the lids on top, and screw the bands on tightly. Process the jars in a boiling water bath for 10 minutes to seal them. Done and dusted! 🎉 This final step completes your plum jelly recipe adventure.
Introduction to Plum Jelly
If you’ve ever spread a dollop of homemade jelly on warm toast and savored the burst of fruity goodness, you know there’s nothing quite like it. Plum jelly is a standout among fruit preserves, offering a perfect balance of sweetness and tartness. 🍇 It’s simple to make, rewarding, and a delightful way to enjoy plums year-round.
“Homemade plum jelly isn’t just a recipe; it’s a tradition passed down from one kitchen to the next.”
What Is Plum Jelly and Why Is It Popular?
Plum jelly is a type of fruit preserve made by extracting juice from ripe plums, combining it with sugar and pectin, and cooking it into a glossy, spreadable jelly. Its vibrant color and fruity flavor make it a favorite for breakfast spreads, baking, and even as a glaze for savory dishes.
The Versatility of Plum Jelly in Your Kitchen
One of the best things about plum jelly is how versatile it is. Whether you’re spreading it on toast, drizzling it over pancakes, or pairing it with cheese on a charcuterie board, plum jelly elevates any dish. Plus, it’s a fantastic way to preserve plums at their peak of ripeness. 🌟
Ingredients and Tools Needed
Let’s talk about what you’ll need to make this delicious plum jelly. Spoiler alert: it’s not as complicated as you might think!
| Ingredient | Quantity |
|---|---|
| Ripe plums (pitted and chopped) | 4 lbs |
| Sugar | 4 cups |
| Liquid pectin | 1 pouch |
| Lemon juice | 2 tbsp |
| Water | 1 cup |
Key Ingredients for Plum Jelly
The star of the show is, of course, the plums. Look for ripe, juicy plums that are slightly soft to the touch. Sugar adds sweetness, pectin helps the jelly set, and lemon juice enhances the flavor while balancing the sweetness. Simple, right?
Essential Kitchen Tools for Jelly Making
You’ll need a large saucepan, a strainer or jelly bag for extracting juice, sterilized jars for storing the jelly, and a ladle for pouring. A candy thermometer can be helpful, but it’s not mandatory.
Tips for Choosing the Best Plums
When picking plums, go for those with vibrant colors and a pleasant aroma. Avoid plums with bruises or blemishes. If you’re using store-bought plums, wash them thoroughly to remove any residue. 🌳
Preparing for the Recipe
Cleaning and Preparing Your Plums
First things first: rinse your plums under cold water to remove dirt and pesticides. Then, cut them in half, remove the pits, and chop them into smaller pieces. This makes it easier to extract juice later.
Sterilizing Your Jars for Safe Canning
Properly sterilized jars are crucial for safe jelly storage. Wash your jars and lids in hot soapy water, rinse them, and place them in a pot of boiling water for 10 minutes. Leave them in the hot water until you’re ready to fill them.
“Sterilizing jars may seem like an extra step, but it’s the key to preserving freshness and preventing spoilage.”
Setting Up a Workstation for Efficiency
Organize your workspace by laying out all your tools and ingredients. This will save you from scrambling mid-recipe. Trust me, having a clear and tidy setup makes the process much more enjoyable. 🛠️
Step-by-Step Guide to Making Plum Jelly
Extracting Juice from Fresh Plums
Place the chopped plums and water in a large saucepan. Bring the mixture to a boil, then reduce the heat and simmer for about 20 minutes, stirring occasionally. Once the plums are soft, strain the mixture through a jelly bag or fine mesh strainer to extract the juice. Don’t rush this step—let gravity do the work!
Mixing Ingredients for the Perfect Jelly
Measure the plum juice to ensure you have about 4 cups. Pour the juice back into the saucepan and add the sugar and lemon juice. Stir until the sugar dissolves completely. Pro tip: Stir gently to avoid introducing too much air.
Cooking and Monitoring the Jelly Mixture
Bring the mixture to a rolling boil over medium-high heat. Add the liquid pectin and continue boiling for another minute. Stir constantly to prevent sticking and ensure the pectin is evenly distributed. 🥣
“The sound of bubbling jelly is music to any home cook’s ears!”
Testing for the Proper Gel Point
To check if your jelly has set, use the spoon test: dip a spoon into the jelly and let it cool for a few seconds. If the jelly sheets off the spoon in a single drop, it’s ready. If not, cook it for another minute and test again.
Pouring and Sealing the Jelly
Carefully ladle the hot jelly into sterilized jars, leaving about 1/4 inch of headspace. Wipe the rims clean, place the lids on top, and screw the bands on tightly. Process the jars in a boiling water bath for 10 minutes to seal them. Done and dusted! 🎉
king.
Homemade Plum Jelly Recipe: A Step-by-Step Guide
Introduction to Plum Jelly
If you’ve ever spread a dollop of homemade jelly on warm toast and savored the burst of fruity goodness, you know there’s nothing quite like it. Plum jelly is a standout among fruit preserves, offering a perfect balance of sweetness and tartness. 🍇 It’s simple to make, rewarding, and a delightful way to enjoy plums year-round.
“Homemade plum jelly isn’t just a recipe; it’s a tradition passed down from one kitchen to the next.”
What Is Plum Jelly and Why Is It Popular?
Plum jelly is a type of fruit preserve made by extracting juice from ripe plums, combining it with sugar and pectin, and cooking it into a glossy, spreadable jelly. Its vibrant color and fruity flavor make it a favorite for breakfast spreads, baking, and even as a glaze for savory dishes.
The Versatility of Plum Jelly in Your Kitchen
One of the best things about plum jelly is how versatile it is. Whether you’re spreading it on toast, drizzling it over pancakes, or pairing it with cheese on a charcuterie board, plum jelly elevates any dish. Plus, it’s a fantastic way to preserve plums at their peak of ripeness. 🌟
Ingredients and Tools Needed
Let’s talk about what you’ll need to make this delicious plum jelly. Spoiler alert: it’s not as complicated as you might think!
| Ingredient | Quantity |
|---|---|
| Ripe plums (pitted and chopped) | 4 lbs |
| Sugar | 4 cups |
| Liquid pectin | 1 pouch |
| Lemon juice | 2 tbsp |
| Water | 1 cup |
Key Ingredients for Plum Jelly
The star of the show is, of course, the plums. Look for ripe, juicy plums that are slightly soft to the touch. Sugar adds sweetness, pectin helps the jelly set, and lemon juice enhances the flavor while balancing the sweetness. Simple, right?
Essential Kitchen Tools for Jelly Making
You’ll need a large saucepan, a strainer or jelly bag for extracting juice, sterilized jars for storing the jelly, and a ladle for pouring. A candy thermometer can be helpful, but it’s not mandatory.
Tips for Choosing the Best Plums
When picking plums, go for those with vibrant colors and a pleasant aroma. Avoid plums with bruises or blemishes. If you’re using store-bought plums, wash them thoroughly to remove any residue. 🌳
Preparing for the Recipe
Cleaning and Preparing Your Plums
First things first: rinse your plums under cold water to remove dirt and pesticides. Then, cut them in half, remove the pits, and chop them into smaller pieces. This makes it easier to extract juice later.
Sterilizing Your Jars for Safe Canning
Properly sterilized jars are crucial for safe jelly storage. Wash your jars and lids in hot soapy water, rinse them, and place them in a pot of boiling water for 10 minutes. Leave them in the hot water until you’re ready to fill them.
“Sterilizing jars may seem like an extra step, but it’s the key to preserving freshness and preventing spoilage.”
Setting Up a Workstation for Efficiency
Organize your workspace by laying out all your tools and ingredients. This will save you from scrambling mid-recipe. Trust me, having a clear and tidy setup makes the process much more enjoyable. 🛠️
Step-by-Step Guide to Making Plum Jelly
Extracting Juice from Fresh Plums
Place the chopped plums and water in a large saucepan. Bring the mixture to a boil, then reduce the heat and simmer for about 20 minutes, stirring occasionally. Once the plums are soft, strain the mixture through a jelly bag or fine mesh strainer to extract the juice. Don’t rush this step—let gravity do the work!
Mixing Ingredients for the Perfect Jelly
Measure the plum juice to ensure you have about 4 cups. Pour the juice back into the saucepan and add the sugar and lemon juice. Stir until the sugar dissolves completely. Pro tip: Stir gently to avoid introducing too much air.
Cooking and Monitoring the Jelly Mixture
Bring the mixture to a rolling boil over medium-high heat. Add the liquid pectin and continue boiling for another minute. Stir constantly to prevent sticking and ensure the pectin is evenly distributed. 🥣
“The sound of bubbling jelly is music to any home cook’s ears!”
Testing for the Proper Gel Point
To check if your jelly has set, use the spoon test: dip a spoon into the jelly and let it cool for a few seconds. If the jelly sheets off the spoon in a single drop, it’s ready. If not, cook it for another minute and test again.
Pouring and Sealing the Jelly
Carefully ladle the hot jelly into sterilized jars, leaving about 1/4 inch of headspace. Wipe the rims clean, place the lids on top, and screw the bands on tightly. Process the jars in a boiling water bath for 10 minutes to seal them. Done and dusted! 🎉
Common Problems and Their Solutions
Why Isn’t My Jelly Setting? Troubleshooting Tips
If your jelly hasn’t set, it could be due to insufficient pectin or undercooking. To fix this, reheat the jelly, add a bit more pectin, and cook until it reaches the gel point.
Preventing Cloudy Jelly: Tips for Clear Results
Cloudiness in jelly often comes from over-squeezing the fruit pulp during juicing. Be patient and let the juice drain naturally to achieve a crystal-clear jelly. ✨
Dealing with Overly Sweet or Tart Jelly
Adjusting sweetness is easier than you think! For overly sweet jelly, add a squeeze of lemon juice. For jelly that’s too tart, stir in a small amount of sugar while reheating. It’s all about balance. ⚖️
Tips for Perfect Plum Jelly Every Time
Adjusting Sweetness to Match Plum Varieties
Different plum varieties have different levels of sweetness. Taste your fruit before starting, and adjust the sugar accordingly. This ensures your jelly hits the perfect flavor note.